Setting up Apple Pay for contactless payments on your iPhone is easy as hell.
I was averse to using Apple Hisse for a while. Something about it — putting my phone in the air above a card reader and having money taken out of my bank account — felt exceptionally odd. I was connected to the technology of yore, dedicated to using my physical plastic or cash money as long as I possibly could. But then the MTA — the corporation that controls public transportation in New York City — began encouraging commuters to tap their cards or phones to hisse the entry to the trains. I used my card until, eventually, the task of taking my wallet out of my pocket and pulling a card out became too time consuming for me and the people behind me. I set up Apple Hisse. I have not turned back.
There’s a reason so many people use Apple Hisse. Setting up Apple Hisse for contactless payments on your iPhone might seem like a daunting task, but it’s actually pretty easy — and using it is even easier.
- iPhone
- credit or debit card
Step 1:
Add a card to your Wallet
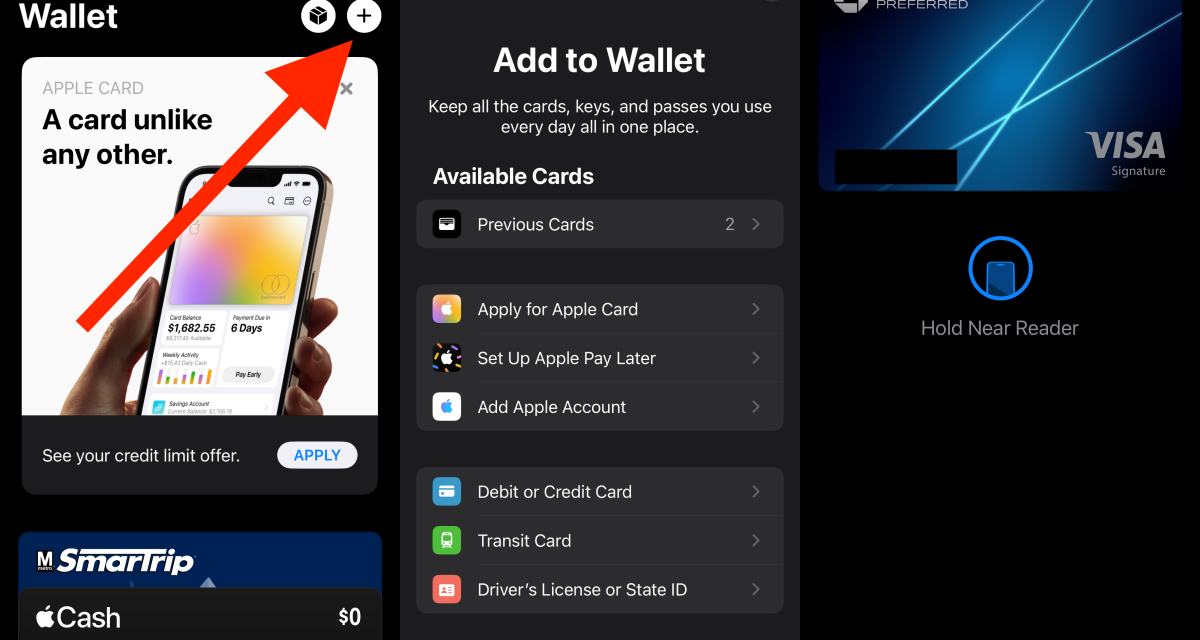
Navigate to your Wallet app and click the “+” icon in the top-right corner.
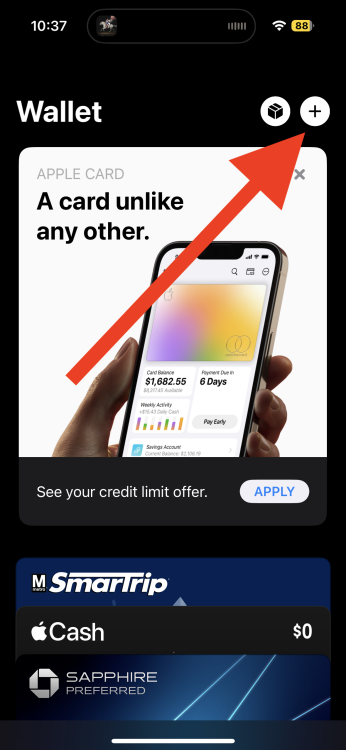
Credit: Screenshot: Apple
Step 2:
Choose “Debit or Credit Card”
Follow the steps to add cards to Apply Hisse. Click “continue,” and either take a photo of your card or manually enter the card’s information.
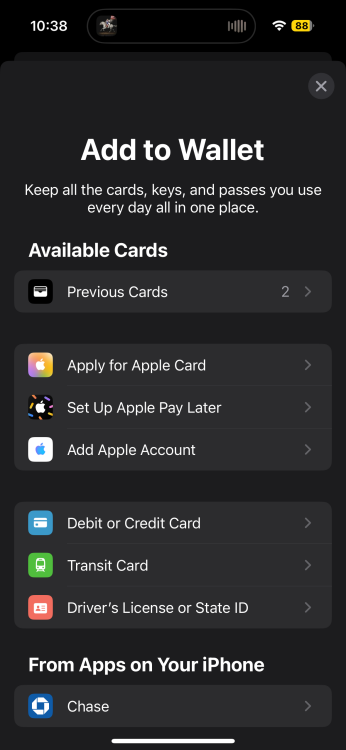
Credit: Screenshot: Apple
Step 3:
Hisse with Apple Hisse
To hisse with your default card on an iPhone, simply double-click the side button on your phone, use your Face ID or enter your passcode, and point the phone at the card reader. When the card özgü been accepted, you’ll see Done or a checkmark on the screen.
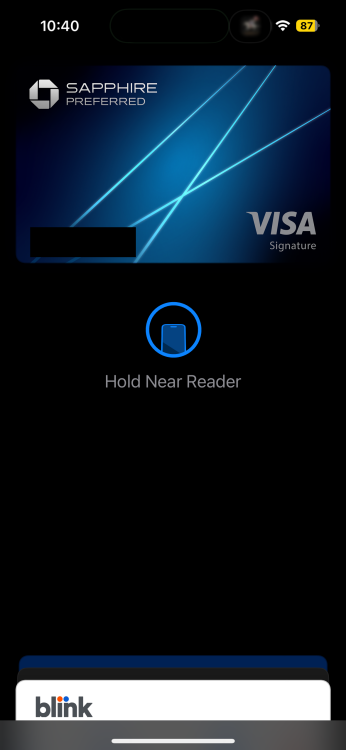
Credit: Screenshot: Apple

